Hydrangeas are among the most admired plants, captivating garden enthusiasts with their beauty and versatility. These stunning shrubs are most commonly deciduous, displaying lush green foliage and breathtaking blooms that enhance any garden. Depending on the variety, hydrangea bushes can grow anywhere from 1 to 2 meters in height, with some reaching an astonishing 15 meters. Their root system consists of a main lignified root that anchors the plant while numerous smaller roots help absorb water and nutrients. The flowers of hydrangeas are small and appear in round or flat clusters, creating a spectacular floral display.
Hydrangeas bloom from early June until October, with flowers ranging in color from soft pink and white to striking purples, blues, and even greenish hues. The fruit of the plant consists of black, wrinkled seeds that remain in the bunch after flowering, making it relatively easy to propagate hydrangeas independently. As August comes to an end and night temperatures begin to drop, the flowers start to lose their vibrant hues and take on a slightly greenish tone. While this change is part of the plant’s natural cycle, hydrangeas continue to captivate with their elegant beauty.
On our channel, we have already shared videos about hydrangea cultivation and pruning. Additionally, we’ve demonstrated how you can alter the color of your hydrangea blooms, transforming pink flowers into blue ones and vice versa. Today, we will focus on propagating hydrangeas using simple yet effective methods that ensure healthy plant growth.
Preparing the Soil for Propagation
Before propagating hydrangeas, it is crucial to prepare the soil in which the cuttings will be placed. We recommend using standard potting soil mixed with perlite. Perlite is a natural material that originates from volcanic rock. When exposed to high temperatures, perlite expands significantly—up to 40 times its original size—making it a lightweight and highly effective soil amendment.
Perlite has a neutral pH level, meaning it is suitable for all types of gardens. It does not degrade over time, making it ideal for long-term plant growth. Additionally, perlite absorbs excess moisture from the soil and gradually releases it when the soil starts to dry out. This feature helps maintain a stable water-air balance around the plant roots. Similarly, perlite retains mineral fertilizer solutions, allowing for a prolonged effect that benefits plant growth. Good soil aeration is essential for healthy root development, as 98% of a plant’s oxygen is absorbed through its roots. The improved airflow provided by perlite also supports beneficial soil organisms like earthworms and nematodes, which contribute to overall plant health.
Selecting and Preparing Hydrangea Cuttings
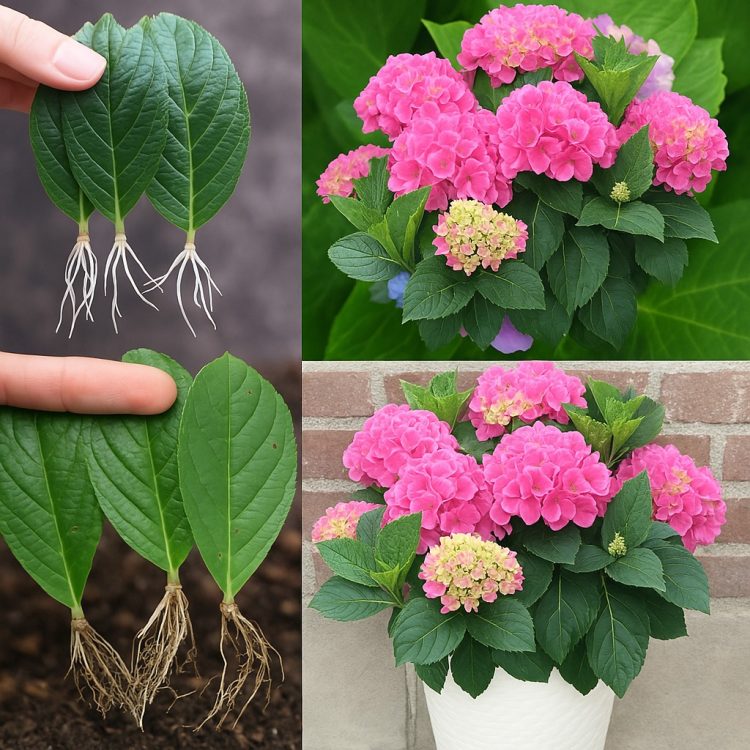
When propagating hydrangeas by cuttings, it is essential to select the right type of branch. Look for a young, green, one-year-old hydrangea branch rather than an older, woody one. The cutting should have at least three small buds. Measure approximately 1 cm below the lowest bud and make an oblique cut. The cutting should be at least 15 cm in length—neither too short nor excessively long.
Once the cutting is selected, remove all the leaves except for the topmost ones. There is no need for scissors; the leaves can easily be removed by gently pushing them to the side with your fingers. To prevent the plant from expending too much energy on leaf development instead of root formation, trim the remaining leaves at the top to reduce their size. This ensures that the plant directs its energy toward establishing a strong root system.
