ADVERTISEMENT
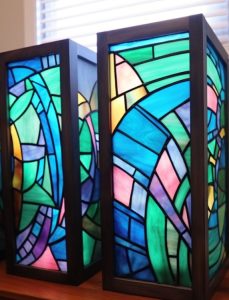
Creating the illusion of stained glass can bring an air of elegance and beauty to any living space. Whether it’s enhancing the appearance of a picture frame or adding a touch of artistic flair to a window, the art of stained glass has long been admired for its ability to transform ordinary objects into eye-catching masterpieces. However, traditional stained glass can be expensive and requires a certain level of skill to produce. Fortunately, there is a fun and easy way to replicate the look of stained glass without breaking the bank or needing specialized tools. In this article, we will explore a simple yet effective technique that uses everyday items, including Elmer’s glue, to create a faux stained glass effect that is sure to impress.
Before we delve into the step-by-step process, let’s take a moment to appreciate the versatility and accessibility of this project. One of the best aspects of using Elmer’s glue for faux stained glass is its wide availability and affordability. Additionally, this DIY project requires minimal artistic talent, making it perfect for craft enthusiasts of all ages and skill levels. With a little creativity and a few household supplies, anyone can produce a stunning piece of art that captures the essence of stained glass.
Step 1: Gather Your Supplies
To get started on your faux stained glass project, you’ll need to gather a few essential supplies. These include a sheet of clear plastic (such as an acetate sheet or a page protector), Elmer’s glue, food coloring or acrylic paint, a paintbrush, a black permanent marker, and a design template or stencil of your choice. You may also want to have some paper towels handy for any accidental spills or to clean up excess glue.
Step 2: Create the Outlines
Begin by selecting your design template or stencil. Place the clear plastic sheet over your chosen design and use a black permanent marker to trace the outlines onto the plastic. This will create the “lead lines” that mimic the appearance of traditional stained glass. Be sure to trace the lines with precision, as this will add to the overall effect.
Step 3: Prepare the Colored Glue
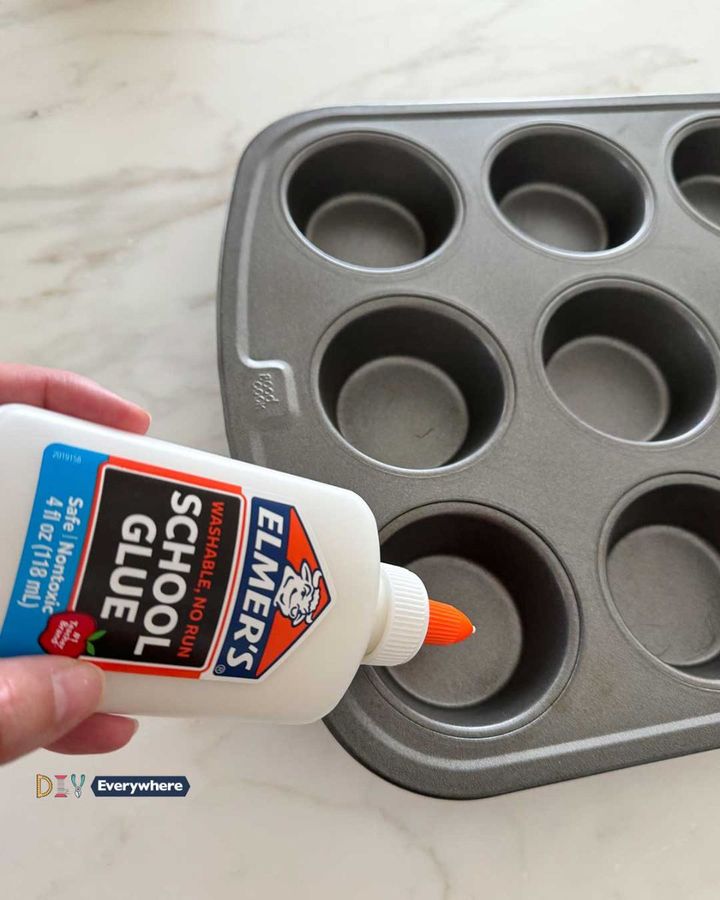
Now it’s time to prepare the colored glue mixture that will form the “glass” sections of your design. Start by pouring some Elmer’s glue into a muffin tin, using one compartment for each color you wish to create. Add a few drops of food coloring or a small amount of acrylic paint to each compartment, and mix well until you achieve your desired colors. The muffin tin provides the perfect palette for mixing and storing your colored glue.
Step 4: Fill in the Design
Using a paintbrush, carefully fill in the sections of your design with the colored glue mixture. Be sure to stay within the lines you traced earlier, and apply the glue evenly to avoid any bubbles or inconsistencies. You can get creative with your color choices, and even blend colors together for added depth and dimension. Allow the glue to dry completely before moving on to the next step.
Step 5: Display Your Artwork

Once your faux stained glass masterpiece is completely dry, you’re ready to display it! You can choose to frame your artwork, hang it in a window using suction cups, or incorporate it into other craft projects. The light will shine through the colored glue, creating a beautiful effect that mimics the look of authentic stained glass.
Here are some other projects we did using this technique:

In conclusion, using Elmer’s glue to create faux stained glass is a fun and rewarding project that allows you to unleash your creativity and achieve stunning results. With a little effort and a few simple steps, you can transform everyday materials into a work of art that is sure to impress. Whether you’re a seasoned crafter or a beginner looking to try something new, this DIY project is sure to become a favorite.
For Complete Cooking STEPS Please Head On Over To Next Page Or Open button (>) and don’t forget to SHARE with your Facebook friends
ADVERTISEMENT
