ADVERTISEMENT
Wow
Directions
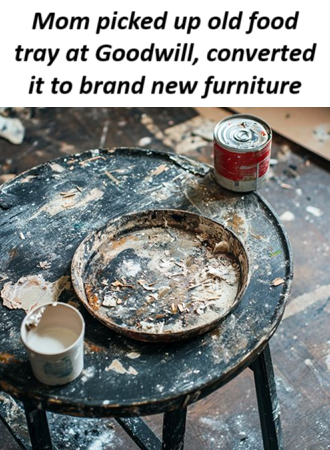
Start by sanding the entire surface of the food tray with medium-grit sandpaper to remove any old finish and smooth out imperfections. Follow up with fine-grit sandpaper for a smooth finish.
Decide on the placement of the legs and mark the spots on the underside of the tray. Ensure they are evenly spaced and aligned.
Drill pilot holes at the marked spots to prevent the wood from splitting when attaching the legs.
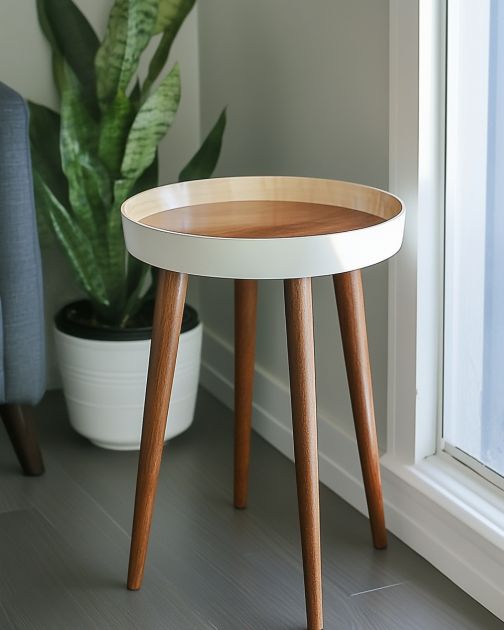
Attach the wooden legs to the tray using wood screws. Apply wood glue for additional stability.
Once the legs are securely attached, apply a coat of wood stain or paint to the entire piece. Allow it to dry completely.
Apply a second coat of stain or paint if necessary, for a richer color or more even coverage.
Once the finish is dry, optionally apply a clear sealant to protect the surface and enhance durability.
Variations & Tips
For a different look, consider using metal hairpin legs for a modern industrial style. You can also experiment with different paint techniques, such as distressing for a shabby chic appearance or using stencils to add patterns. If the tray is deep enough, it can be converted into a storage table by adding a hinged lid. For added functionality, attach small caster wheels to the legs for easy mobility.
For Complete Cooking STEPS Please Head On Over To Next Page Or Open button (>) and don’t forget to SHARE with your Facebook friends
ADVERTISEMENT
