Before you begin, gather the necessary tools and materials. You will need a sharp pair of pruning shears or scissors, a clean container for water, rooting hormone, and small pots or trays filled with potting mix. It’s important to sterilize your tools to prevent the spread of disease.
Rooting hormone is not essential, but it can increase the chances of successful rooting. It is available in powder, liquid, or gel form and can be found at most garden centers.
6. Step-by-Step Guide to Taking Cuttings
Begin by using your sterilized pruning shears to cut a 4 to 6-inch section of the lavender stem just below a leaf node. Remove the leaves from the bottom half of the cutting to expose the stem.
Dip the cut end of the stem into rooting hormone, if using, and tap off any excess. This will encourage root development and increase the success rate of your cuttings.
7. Preparing the Potting Mix
Lavender requires well-draining soil to thrive. Prepare a potting mix by combining equal parts of perlite, coarse sand, and peat moss. This mixture will provide the necessary drainage and aeration for the cuttings.
Fill small pots or trays with the potting mix, leaving about an inch of space at the top. Water the mix lightly to ensure it is evenly moist but not waterlogged.
8. Planting the Lavender Cuttings
Using a pencil or your finger, make a small hole in the potting mix for each cutting. Insert the cutting into the hole, ensuring that at least two leaf nodes are buried in the soil. Gently firm the soil around the base of the cutting to hold it in place.
Space the cuttings at least 2 inches apart if planting in a tray, to allow for air circulation and prevent mold growth.
9. Ensuring Optimal Growing Conditions
Place the pots or trays in a warm, bright location, but out of direct sunlight. A temperature of around 70°F (21°C) is ideal for rooting lavender cuttings. Cover the cuttings with a plastic dome or a clear plastic bag to create a humid environment, which will help prevent the cuttings from drying out.
Check the cuttings regularly and mist them with water if the potting mix begins to dry out. Avoid overwatering, as this can lead to rot.
10. Caring for Your Lavender Cuttings
After a few weeks, gently tug on the cuttings to check for resistance, which indicates that roots are forming. Once the cuttings have developed a strong root system, they can be transplanted into larger pots or directly into the garden.
Continue to care for the young plants by providing adequate sunlight and water. Lavender prefers to dry out slightly between waterings, so be careful not to overwater.
11. Troubleshooting Common Issues
If your cuttings are not rooting, check that the potting mix is not too wet or too dry. Ensure that the cuttings are not exposed to direct sunlight, which can cause them to wilt. If mold or rot appears, remove affected cuttings and improve air circulation.Yellowing leaves can be a sign of overwatering, while wilting may indicate underwatering or excessive heat. Adjust your care routine accordingly to address these issues.
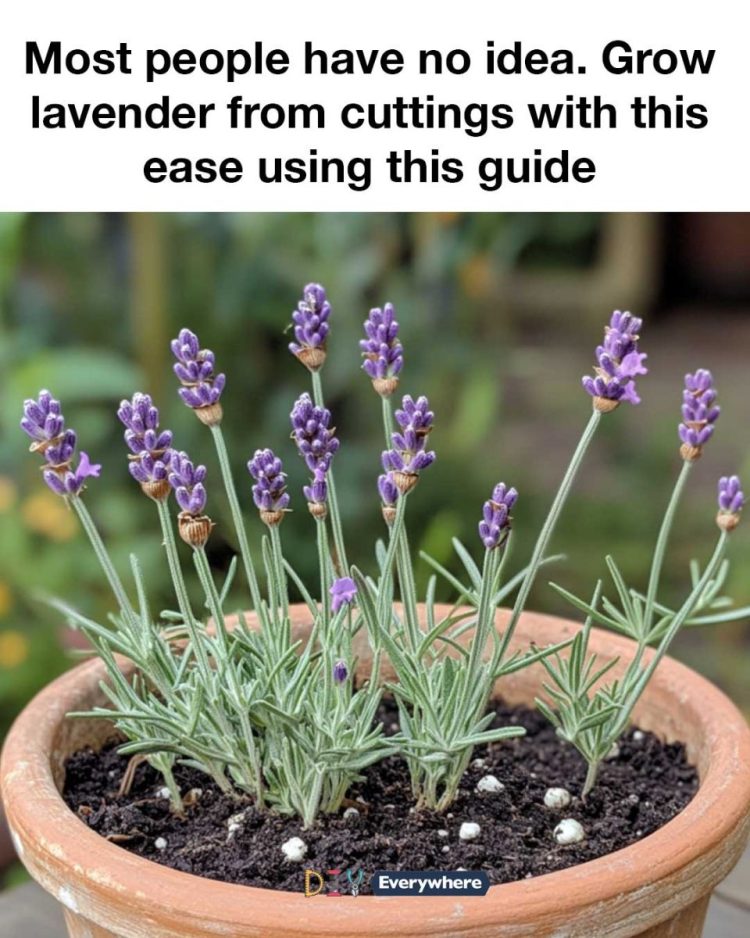
Most people have no idea. Grow lavender from cuttings with this ease using this guide
ADVERTISEMENT
For Complete Cooking STEPS Please Head On Over To Next Page Or Open button (>) and don’t forget to SHARE with your Facebook friends
ADVERTISEMENT
