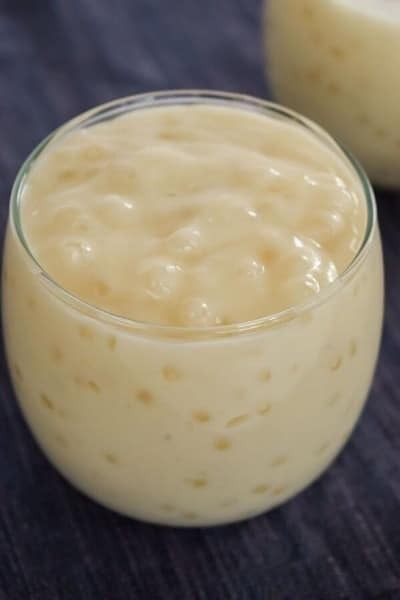
First, soak the tapioca pearls.
Begin by placing your small tapioca pearls in 2 cups of water and let them sit for 30 minutes. This step makes sure the pearls become soft and cook evenly. After soaking, remove the water and leave the tapioca to the side.
Step 2: Prepare the tapioca.
In a pot, mix the tapioca, milk, and salt that has been soaked. Cook on medium heat, stirring often to avoid sticking. Let it cook for around 10-12 minutes until it becomes thicker. You will witness a magical transformation when the tapioca pearls become see-through!
Step 3: Get the eggs ready.
While your tapioca is cooking, mix the eggs in a different bowl and stir in the sugar. This smooth egg mixture will make your pudding extra creamy.
Step 4: Mix the Eggs – The Key to Smooth Pudding
This is the most important step! Gradually pour a spoonful of the warm tapioca mix into the eggs and sugar while stirring continuously. This mild heating method (tempering) stops the eggs from becoming scrambled pieces. After mixing, pour this mixture back into the saucepan.
Step 5: Finishing the Cooking Process
Cook on low heat, stirring constantly for 5 more minutes. The pudding will get thicker as the tapioca pearls become soft and chewy. Take the mixture off the heat and add the essential vanilla extract for a cozy and pleasant smell.
Step 6: Relax, let it cool, and serve with care.
Put the pudding in bowls and allow it to cool for 15 minutes. Cover the dish with plastic wrap, making sure it touches the food to avoid a skin forming on top. Put it in the refrigerator until it is completely cold—or if you prefer, you can serve it warm if you are eager to eat it!
Expert Advice for Making Your Pudding Taste Amazing
Enhance the flavor: Add a cinnamon stick or a bit of coconut milk for a fun touch.
Use fresh ingredients: Fresh milk and good vanilla are essential for the best results.
Stir frequently: It might be tempting to stop, but stirring all the time helps avoid clumps and burning.
Have fun and enjoy cooking! 💛
