Assembling the Jars
6. Layering the Ingredients
In each sterilized 0.7-liter jar, follow this layering method:
Bottom Layer: 3 tablespoons of washed rice
Middle Layer: A generous spoonful of the meat and vegetable mixture
Next Layer: More rice
Top Layer: Another spoonful of the meat mixture
Final Layer: Finish with rice, but leave about 2 fingers’ width of space from the top of the jar.
This layering ensures even cooking and an appealing look when opened.
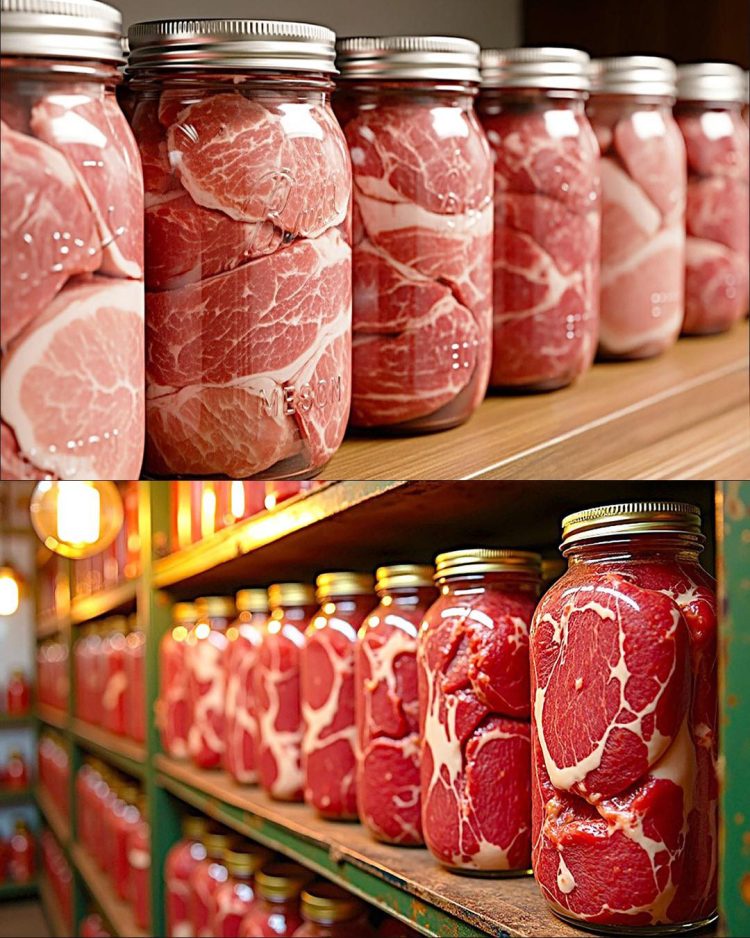
layered meat rice vegetable canning jars
7. Add Boiling Water and Vinegar
Fill each jar to the top with boiling water, making sure everything is submerged. Add 1 tablespoon of 9% vinegar to each jar – this adds acidity, which helps with preservation and enhances the flavor.
8. Seal the Jars
Wipe the rims of each jar carefully to remove any residue, and seal tightly with new, undamaged lids. This step is essential to prevent contamination and ensure the jars vacuum-seal properly.
Cooking the Jars
9. Prepare the Pot
Place a clean cloth or towel at the bottom of a large pot to prevent jars from touching the direct heat or cracking. Arrange the sealed jars inside, and pour hot water into the pot until it reaches the level of the jar lids.
10. Cook for 4 Hours
Bring the water to a boil, then reduce the heat and simmer for 4 hours. Monitor the water level and add more if it evaporates. This extended cooking time ensures the meat is tender and fully cooked, and it helps create a seal as the jars cool.
Cooling and Storage
After 4 hours, turn off the heat and let the jars cool gradually in the pot or covered with a towel. Once cooled:
Check each lid: the center should be slightly sunk in, indicating a proper seal.
If a lid did not seal correctly, refrigerate the jar and consume within a few days.
Properly sealed jars can be stored for 12 months or more in a dark, cool place.
homemade canned meat rice pantry storage
How to Use the Preserved Meal
Whenever you’re ready to enjoy your preserved meal, simply:
Reheat the contents of the jar in a pan or pour into a bowl and microwave.
Serve with a fresh salad or pickled vegetables.
Ideal for camping trips, road journeys, or quick dinners at home.
Why This Works
Salt & Vinegar: These two key ingredients help prevent bacterial growth, especially botulism. Always follow the salt measurement and don’t skip the vinegar.
Fat and Liquid Seal: The meat releases natural juices and fat during cooking. Combined with the added water and rice, they create a flavorful, sealed environment.
Pressure Cooking Without a Pressure Cooker: Extended boiling time simulates pressure-cooking, making the contents shelf-stable.
This homemade canned meat and rice method is a fantastic way to preserve food naturally, with no chemicals or artificial preservatives. With a little time and care, you can stock your pantry with hearty, ready-to-eat meals that taste just as good months later.
Whether you’re planning ahead for emergencies or just want to simplify your meals, this method delivers convenience, flavor, and tradition — all in one jar.
Disclaimer: Always ensure proper sterilization and storage practices when canning food at home. If a jar does not seal correctly or shows signs of spoilage, discard it immediately.
Inspired by this? Share the article with your friends!
