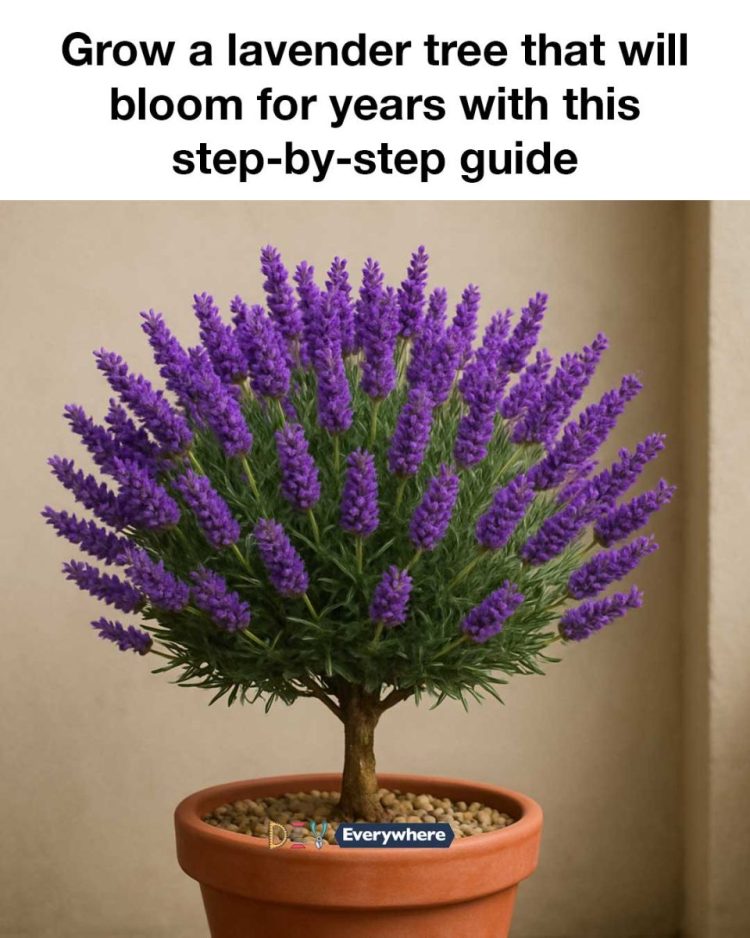
Lavender is a beloved plant known for its fragrant blooms and calming properties. Cultivating a lavender tree in your garden can bring beauty and a soothing aroma that lasts for years. However, growing lavender successfully requires understanding its specific needs and providing the right care.
In this guide, we will walk you through the process of growing a lavender tree that will bloom year after year. From selecting the right variety to mastering pruning techniques, this step-by-step guide will equip you with everything you need to know to cultivate a thriving lavender tree.
1. Understanding Lavender Trees: A Brief Overview
Lavender, scientifically known as Lavandula, is a genus of 47 known species of flowering plants in the mint family, Lamiaceae. Native to the Mediterranean region, lavender thrives in sunny, dry climates. Lavender trees are not actual trees but are often referred to as such when they are pruned and trained to grow in a tree-like form.
Lavender plants can grow from 1 to 3 feet tall and wide, depending on the variety. They are perennial plants, meaning they can live for several years with the right care. Lavender is known for its silvery-green foliage and spikes of purple, blue, or white flowers, which are highly attractive to bees and butterflies.
2. Choosing the Right Lavender Variety for Your Climate
Selecting the right lavender variety is crucial for successful growth. English lavender (Lavandula angustifolia) is the most common and is hardy in USDA zones 5-8. It is known for its sweet fragrance and is ideal for cooler climates. French lavender (Lavandula dentata) and Spanish lavender (Lavandula stoechas) are better suited for warmer climates, thriving in USDA zones 8-10.
Consider your local climate and soil conditions when choosing a variety. If you live in a humid area, opt for a variety that is more tolerant of moisture, such as Lavandula x intermedia, which is a hybrid known for its robust growth and resistance to disease.
3. Selecting the Perfect Location for Planting
Lavender requires full sun to thrive, so choose a location that receives at least 6 to 8 hours of direct sunlight per day. Ensure the site has well-draining soil, as lavender does not tolerate wet roots. Avoid areas where water tends to pool after heavy rain.
If planting in a garden bed, consider the spacing between plants. Lavender plants should be spaced 12 to 18 inches apart to allow for air circulation, which helps prevent fungal diseases. If you’re growing lavender in pots, choose containers with drainage holes and a diameter of at least 12 inches.
4. Preparing the Soil: Essential Tips and Measurements
Lavender thrives in well-draining, sandy, or gravelly soil with a pH between 6.5 and 7.5. Before planting, amend heavy clay or compacted soil with sand or gravel to improve drainage. You can also add organic matter, such as compost, to enhance soil fertility.
To test the soil pH, use a soil test kit available at garden centers. If the pH is too low, add lime to raise it. Conversely, if the pH is too high, sulfur can be used to lower it. Aim for a soil depth of at least 12 inches to accommodate the lavender’s root system.
5. Planting Your Lavender Tree: Step-by-Step Instructions
Begin by digging a hole that is twice as wide and as deep as the root ball of your lavender plant. Remove the plant from its container and gently loosen the roots. Place the plant in the hole, ensuring the top of the root ball is level with the soil surface.
Backfill the hole with soil, pressing down gently to remove air pockets. Water the plant thoroughly after planting to help settle the soil. If planting multiple lavender plants, maintain the recommended spacing to ensure adequate air circulation.
6. Watering Techniques: How Much and How Often
Lavender is drought-tolerant once established, but young plants require regular watering. Water newly planted lavender once or twice a week until established. Once the plant is mature, reduce watering to every two to three weeks, allowing the soil to dry out between waterings.
see continuation on next page
