Step 1: Preheat and Prepare
Preheat your oven to 350°F (175°C). Grease a 9×13-inch baking dish with butter or nonstick spray to ensure your cake won’t stick.
Step 2: Make the Crust
In a medium bowl, combine the yellow cake mix, melted butter, and one egg. Stir until everything is well combined and the mixture becomes thick like dough. Press this dough evenly into the bottom of your prepared baking dish. This layer forms the base of your gooey butter cake, giving it a sturdy foundation with a deliciously buttery flavor.
Step 3: Prepare the Filling
In a large mixing bowl, beat the softened cream cheese until smooth and creamy. Add in the remaining two eggs and vanilla extract, and mix until well incorporated. Slowly add the melted butter, continuing to beat until everything is smooth. Gradually add in the powdered sugar, one cup at a time, until the mixture is creamy and thick.
Step 4: Assemble the Cake
Pour the cream cheese mixture over the cake mix crust, spreading it evenly with a spatula to cover the entire surface.
Step 5: Bake
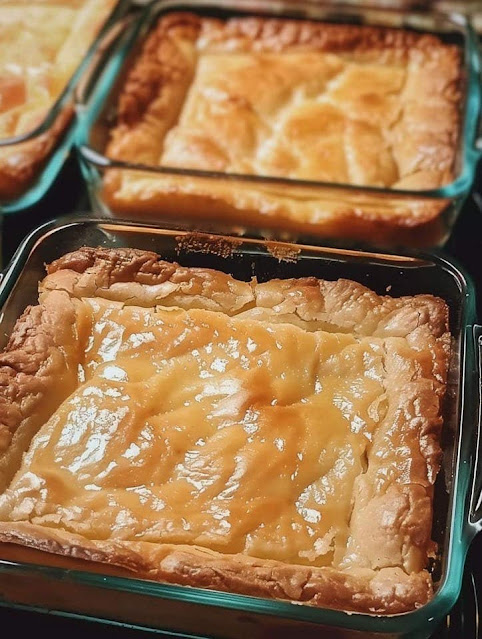
Place the baking dish in the preheated oven and bake for 40-45 minutes. You’ll know it’s ready when the top is golden brown, but the center should still be slightly gooey when touched. The edges will be crisp and the top will have a beautiful, shiny, crackled surface.
Step 6: Cool and Serve
Once baked, remove the gooey butter cake from the oven and allow it to cool completely in the pan before cutting into squares. This cake is best enjoyed slightly warm or at room temperature.
Tips for Making the Perfect Gooey Butter Cake
- Don’t overbake: The center of the cake should remain soft and gooey; that’s the essence of a gooey butter cake. Keep an eye on it during the final minutes of baking to avoid drying it out.
- Customization: For a fun twist, you can experiment with flavored cake mixes like lemon or chocolate for a different spin on this classic.
- Serving suggestion: Serve with a dusting of powdered sugar on top for extra sweetness. It pairs perfectly with coffee or tea.
