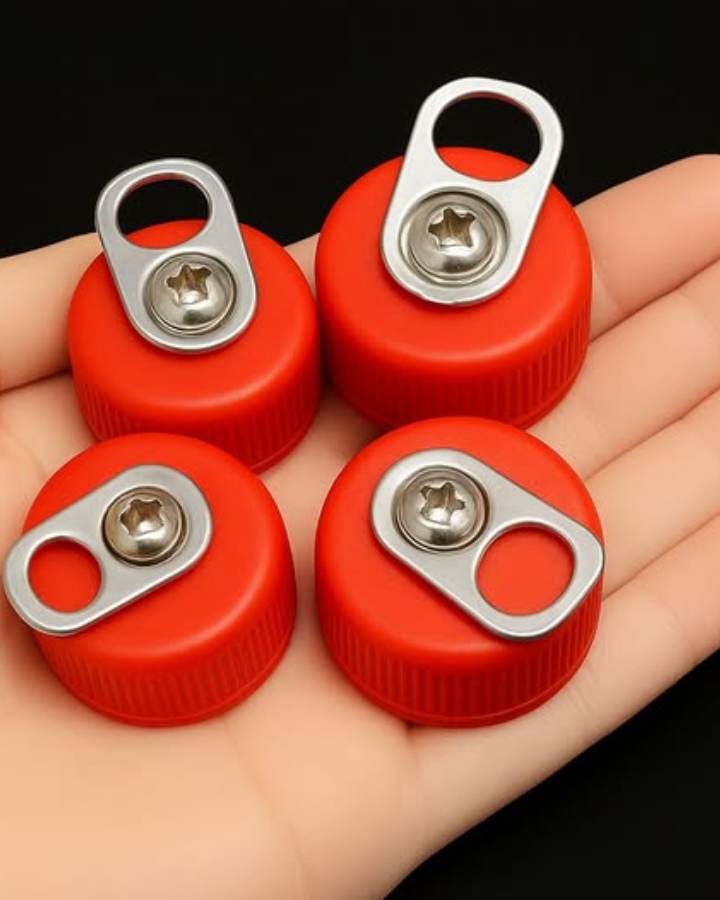
1. Prepare the Bottle Caps:
Use a hot punch or hole puncher to create a small hole in the center of each cap. These will serve as wire connectors.
2. Assemble the Signal Receiver:
Pair the caps — connect two together with a wire, and do the same with the remaining two. Attach the coaxial cable: connect the center wire to one pair, and the braided shield to the other.
3. Attach to the Lamp Frame:
Use the metal structure of the lamp to support the cap pairs. Fix the caps to each end of the arm, spacing them slightly apart.
4. Insulate the Connections:
Ensure there’s no contact between the center conductor and the shield to avoid interference. Wrap with electrical tape for safety.
5. Connect to Your TV:
Plug the coaxial cable into your TV’s antenna port, scan for channels, and adjust the antenna’s angle for the best signal.

Tips to Boost Signal and Durability:
Raise the Antenna: Place it on a high shelf or near a window to enhance reception.
DIY Reflector: Add an aluminum tray or sheet of foil behind the caps to focus the signal.
Wire Cross Support: Add a cross of wire at the lamp’s top to strengthen reception.
Experiment with Direction: Rotate the lamp like a pro antenna — slight changes may capture more channels.
Include a Switch: For a more advanced version, integrate a simple on/off switch for manual signal control.
Personalize the Look: Paint the caps or decorate the frame with stylish cardboard to match your home decor.

Give this inventive antenna a try and become part of a growing community that turns ordinary household items into extraordinary solutions!
