In fall (September–November): Place orchids near a window where nighttime temps are naturally cooler.
Outdoor method: In mild climates, set orchids outside for a few weeks when nights dip to 55–65°F (13–18°C).
Indoor method: Move the plant to a cooler room at night, then return it to warmer light during the day.
Within 2–4 weeks, you should see a new flower spike emerging near the base of the leaves.
Step-by-Step Guide: Caring for Orchids After Blooming
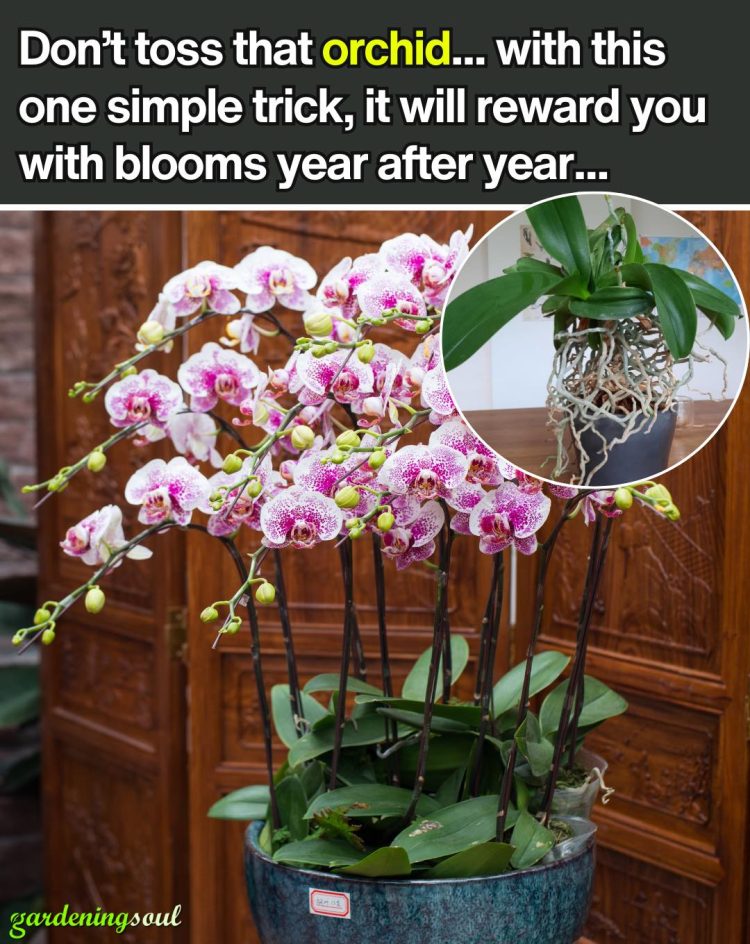
When the final petals of your orchid fall, it can feel like the show is over. Many people assume the plant has reached the end of its life cycle, but in reality, it has just shifted gears into its resting phase.
This is the moment when the orchid begins recharging its energy, rebuilding roots and leaves, and preparing for its next bloom.
What you do during this period will determine whether you enjoy another round of flowers or end up with a plant that stays green but flowerless.
Here’s a complete guide to caring for orchids after they bloom, with everything explained in detail.
Step 1: Assess the Flower Spike
The flower spike, or stem, is the first part of the plant you need to evaluate once the flowers fade. If the spike is still green and firm, it still contains life.
In many cases, a green spike can produce side branches or even a second flush of blooms from dormant buds.
Leaving it in place gives your orchid the chance to surprise you with bonus flowers.
If the spike has turned brown, shriveled, or dried out, it’s no longer useful to the plant. At this point, the best thing you can do is cut it back all the way down to the base.
Always use sterilized scissors or pruning shears to avoid introducing bacteria or fungi into the wound.
This simple step helps the orchid redirect its energy away from the spent stem and back into roots and leaves, where it’s needed most.
Step 2: Reduce Watering
Orchids in bloom require more frequent watering to support the flowers. But once the blooms are gone, the plant enters a rest phase, and its water needs decrease.
Overwatering at this stage is one of the most common mistakes people make.
The key is to watch the roots. Healthy orchid roots turn green after watering, then slowly shift to a silvery-gray as they dry.
This silvery color is your signal to water again. Depending on your climate and indoor conditions, this may mean watering every 7–10 days in cooler months rather than every 3–5 days.
Always allow excess water to drain completely from the pot. Never let the orchid sit in standing water, as this suffocates the roots and quickly leads to rot.
Step 3: Adjust Fertilizer
Once the flowers have dropped, your orchid no longer needs high levels of phosphorus, the nutrient that fuels blooming.
Instead, it benefits most from a balanced fertilizer that supports leaf and root growth. A formula such as 20-20-20, diluted to half or even quarter strength, is ideal during the resting stage.
Apply this every two weeks while the plant is regaining its strength.
When you notice a new flower spike beginning to form, you can switch to a bloom booster fertilizer with a higher phosphorus ratio to encourage strong buds and lasting flowers.
Think of fertilization as giving your orchid a gentle nudge in the right direction depending on what stage it’s in.
Step 4: Provide Proper Light
Light is what fuels everything in an orchid’s cycle, from root growth to flower production. After blooming, orchids need a steady supply of bright, indirect light to recharge.
Place your plant in an east-facing window where it can soak up morning sun without being scorched. A south-facing window also works if you use a sheer curtain to soften the intensity of the midday rays.
If your home doesn’t provide enough natural light, especially in winter, a small LED grow light can make all the difference.
Position it about 10–12 inches above the plant and run it for 12–14 hours a day to mimic tropical daylight conditions.
Without enough light, an orchid may grow leaves but won’t have the energy to rebloom.
Step 5: Encourage a Temperature Drop
One of the most overlooked secrets to reblooming orchids is temperature. In the wild, orchids experience warmer days and cooler nights, and this fluctuation tells them it’s time to produce a new flower spike.
Indoors, where temperatures often remain stable, orchids miss this natural cue.
You can recreate it by exposing your orchid to a drop of about 10°F (5°C) at night. If your days are 70–75°F (21–24°C), aim for 60–65°F (15–18°C) at night.
This can be as simple as moving your orchid near a slightly draftier window in autumn or placing it in a cooler room for a few weeks. With this gentle push, the orchid often responds by initiating a new spike.
Step 6: Support the New Spike
see continuation on next page
