-
Fill small cups or pots with the chosen substrate – Ensure the container has drainage holes.
-
Make a small hole in the substrate – A shallow hole will help position the cutting securely.
-
Apply a rooting stimulant – If available, a small amount of rooting hormone can be added to the hole. If rooting hormone is unavailable, crushed aspirin tablets can be used as a substitute. Sprinkle a little of the aspirin powder onto the cut end before planting.
-
Insert the cuttings into the soil – Place the cuttings about 2 cm deep into the substrate.
-
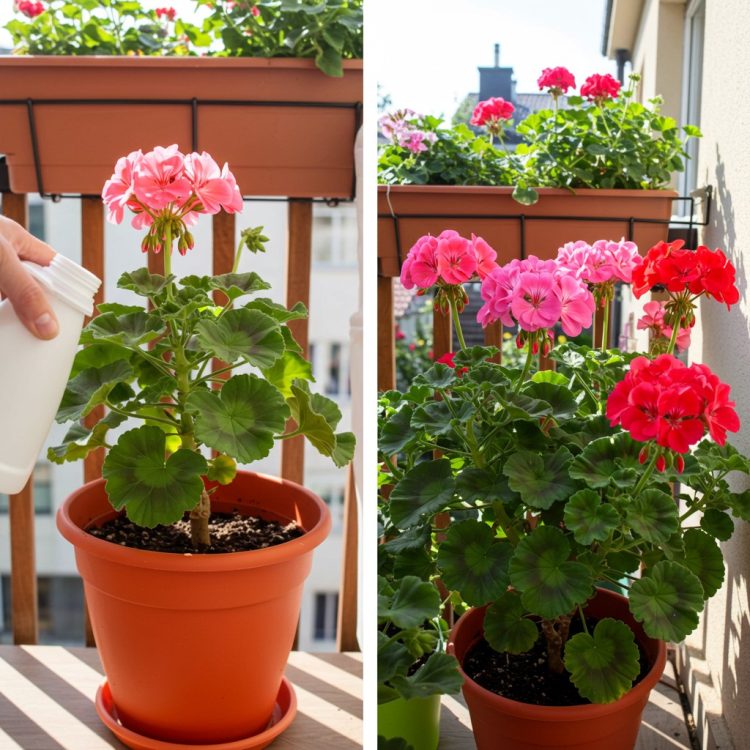
Water moderately – If the substrate is dry, lightly moisten it with water. Avoid overwatering at this stage.
Creating Optimal Rooting Conditions
To ensure successful rooting, place the planted cuttings inside a transparent plastic bag or cover them with a plastic dome to create a greenhouse effect. Keep them in a warm, bright location but away from direct sunlight.
Additional tips:
-
The plastic covering should be removed periodically for ventilation to prevent mold and fungal issues.
-
Watering should be minimal—only when the substrate begins to dry out.
Root Development and Transplanting
After 2-3 weeks, roots should begin to develop. Once the cuttings are well-rooted and new growth appears, they can be carefully transplanted into larger pots with regular potting soil.
By following these simple steps, it is possible to both rejuvenate an old pelargonium plant and propagate new ones. Proper pruning and care will ensure lush, abundant flowering throughout the growing season.
