ADVERTISEMENT
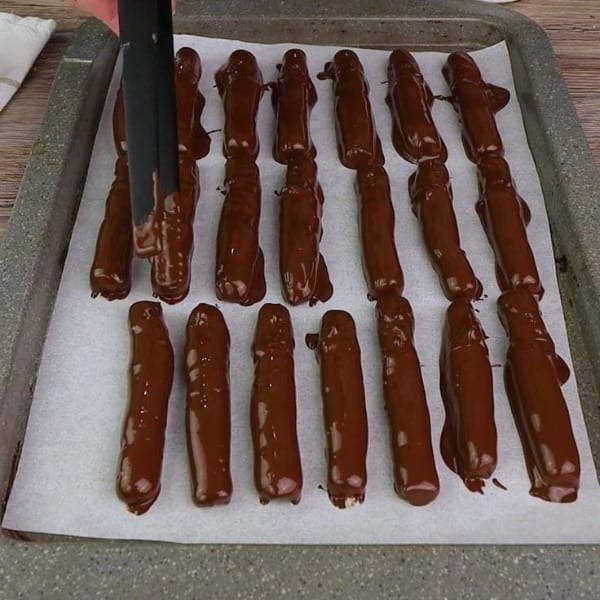
Step 3: Glaze with White Chocolate
- Melt the white chocolate chips using the same method as the dark chocolate.
- Drizzle the melted white chocolate over the dark chocolate base in thin, decorative lines for a marbled or striped effect.
Step 4: Decorate
- Add your choice of toppings:
- Shredded coconut for a tropical vibe.
- Crushed candy canes for a festive touch.
- Sprinkles for fun pops of color.
- Crushed pistachios for a nutty crunch.
- Be creative! Mix and match toppings to suit the occasion or your preferences.
Step 5: Set and Cut
- Let the chocolate set:
- For quicker results, place the tray in the refrigerator for 20-30 minutes.
- Alternatively, allow it to set at room temperature for about 1-2 hours.
- Once the chocolate is firm, use a sharp knife to cut it into sticks or bars.
Storage and Serving
- Storage: Keep the chocolate sticks in an airtight container at room temperature for up to 1 week. For longer storage, refrigerate them for up to 2 weeks.
- Serving: Arrange on a decorative platter or package them in clear bags tied with ribbons for gifting.
Tips for Success
- Use high-quality chocolate: The better the chocolate, the richer the flavor of your treats.
- Customize toppings: Let your creativity shine by experimenting with different combinations of nuts, fruits, and sprinkles.
- Keep it thin: A uniform thickness ensures even setting and easy slicing.
- Chill but don’t freeze: Rapid freezing can cause the chocolate to develop a white “bloom,” which is harmless but affects the appearance.
Why You’ll Love This Recipe
- Versatile: Perfect for holidays, birthdays, or anytime snacking.
- Customizable: Personalize with toppings to match any theme or flavor preference.
- Effortless Elegance: Easy to make but looks and tastes gourmet.
For Complete Cooking STEPS Please Head On Over To Next Page Or Open button (>) and don’t forget to SHARE with your Facebook friends
ADVERTISEMENT
