Fencing your property is a significant decision for every homeowner. It affects your privacy, security, curb appeal, property value, and even your relationship with your neighbors. When you decide to install a fence, there are many technical and aesthetic factors to consider—from the type of materials, height, and style to budget and local regulations. However, one often overlooked yet crucial aspect of fencing is which side of the fence faces your neighbor.
Many experienced homeowners, landscapers, and fencing contractors will advise you: Always place your fence with the front facing your neighbor. This simple yet powerful rule can dramatically improve the visual appeal of your property, maintain good neighborly relations, and even protect the longevity of your fence.
In this article, you will discover everything you need to know about why fence orientation matters, how to properly install a fence with the front facing your neighbor, and the benefits that come from this approach. We’ll explore practical tips, common mistakes to avoid, and thoughtful insights into maintaining a happy and respectful neighborhood atmosphere.
Why Does Fence Orientation Matter?
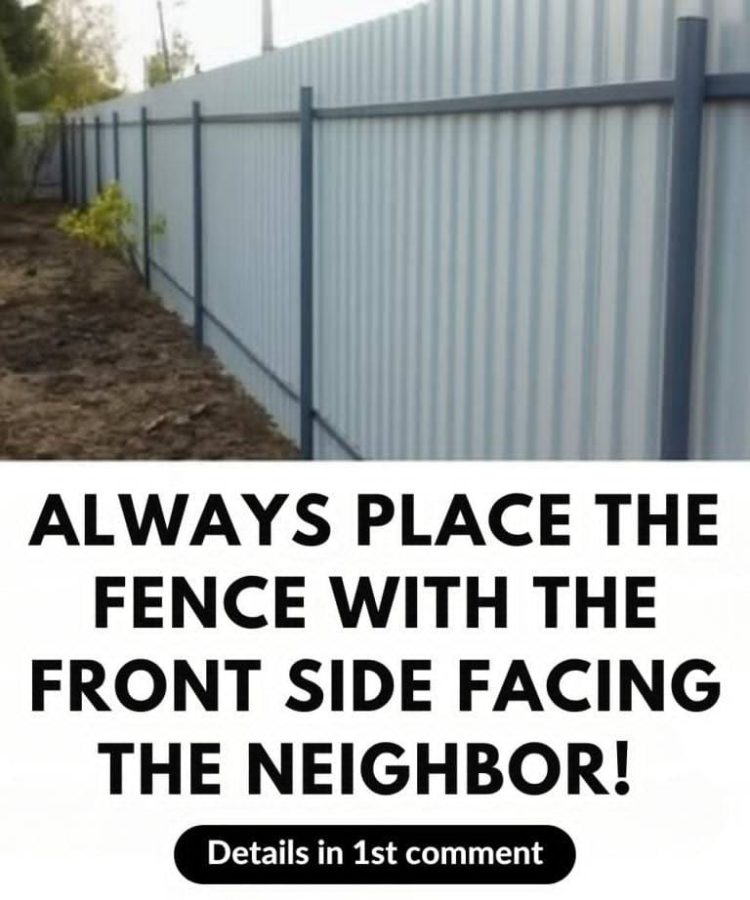
When we say “placing your fence with the front facing your neighbor,” what exactly does that mean? Most fences have a “good” side and a “back” side. The good side usually refers to the side with the finished, polished look—neat boards, decorative lattice, smooth panels—while the back side is typically the side where the posts, rails, and rough edges are visible.
Orienting the “good side” of the fence toward your neighbor means they see the clean, finished face rather than the less attractive structural side.
You might wonder why this is important. After all, it’s your property and your fence—why should you worry about which side your neighbor sees?
Here are the key reasons fence orientation matters:
1. Maintaining Good Neighbor Relations
Fences are shared boundary features. Unless your fence is fully on your side of the property line and agreed upon otherwise, it essentially belongs to both you and your neighbor. How your fence looks to your neighbor can significantly influence their perception of you and their satisfaction with the boundary.
A fence with the ugly back facing your neighbor can cause friction and be seen as disrespectful or lazy. On the other hand, a neat, clean fence shows that you respect your neighbor’s property and are committed to maintaining a pleasant environment.
Good fences make good neighbors—literally.
2. Enhancing Property Aesthetics and Value
A well-oriented fence improves curb appeal for both properties. It frames your yard and your neighbor’s yard with beauty, increasing the perceived value of your homes.
When the finished side faces the neighbor, the shared boundary looks intentional, cared for, and visually pleasing from both perspectives. This can be especially important if you plan to sell your home, as neighbors often care about the appearance of adjacent properties.
3. Protecting the Fence from Weather and Wear
Proper fence orientation can also protect the fence itself. Most fences are built so that the posts and rails—which are more susceptible to weather damage—face inward toward your property rather than outward. This protects the structural parts from direct exposure to weather and helps prolong the fence’s lifespan.
By installing the fence with the good side outward, the less weather-resistant parts are shielded, helping reduce future repairs and maintenance.
4. Following Community Norms and Legal Guidelines
In many neighborhoods, homeowner associations (HOAs) and local building codes expect that fences be installed with the finished side facing outward toward the neighbor or public areas. Adhering to this norm helps avoid conflicts and legal issues.
Understanding Fence Anatomy: Front vs. Back Side
To fully grasp the importance of fence orientation, let’s take a closer look at the typical anatomy of a wooden fence, which is the most common type of residential fencing.
Front Side (Good Side)
Finished boards: These boards are smooth, evenly spaced, and visually pleasing.
Decorative elements: Lattice tops, scalloped designs, or paint/stain finishing.
No visible hardware: Nails, screws, and rails are hidden or neatly finished.
Back Side
Fence posts and rails: Visible horizontal rails that support the boards.
Nails or screws: Usually visible from the back side.
Less polished appearance: The structure is exposed and rougher.
Most fence manufacturers design fences to have a distinct front and back. Even pre-made panels show which side is the “face.”
How to Properly Install a Fence with the Front Facing Your Neighbor
Once you understand why orientation matters, the next step is ensuring you install your fence correctly. Here are detailed steps and tips to install your fence with the front facing your neighbor:
Step 1: Discuss with Your Neighbor
Open communication with your neighbor before installing the fence is crucial. Discuss your fencing plans, the style of fence you want, and importantly, how you plan to orient the fence.
Getting your neighbor’s input not only prevents conflicts but also ensures that you’re both satisfied with the outcome. It’s easier to maintain good relations by involving them early on.
Step 2: Determine Your Property Line
Before you start digging post holes, get an accurate survey of your property boundaries. If you’re unsure where your property ends, hire a licensed surveyor.
Building a fence in the wrong place can lead to disputes, fines, or even legal action. Plus, a properly placed fence avoids accidental encroachment on your neighbor’s land.
Step 3: Choose Your Fence Style and Materials
Select a fence style that suits your home’s design and meets your privacy and security needs. Popular options include:
Privacy fences (solid panels)
Picket fences
Split rail fences
Chain link fences with privacy slats
Ensure that the fence panels or boards have a defined front side.
Step 4: Build or Assemble Fence Panels Correctly
If you’re building the fence yourself or assembling pre-made panels, make sure the finished side faces outward—toward your neighbor’s property.
When installing posts and rails, position the support rails on your side of the fence, with the neat boards facing your neighbor.
Step 5: Post Installation
Dig post holes at the property line. Insert posts so that the front face of the fence panels will face your neighbor.
Anchor posts securely with concrete, ensuring the fence is sturdy.
Step 6: Attach Panels with Front Facing Neighbor
Attach fence panels or individual boards with the good side facing outward toward your neighbor’s property.
Double-check orientation before fastening boards or panels to avoid mistakes.
Step 7: Apply Finish or Paint to Both Sides (Optional but Recommended)
For longevity and appearance, consider staining or painting both sides of the fence. This shows you care about the fence and maintains a professional look on both properties.
Benefits of Always Placing Your Fence with the Front Facing Your Neighbor
Now that you understand how to install the fence properly, let’s delve deeper into the specific benefits you will enjoy.
1. Promotes Respect and Courtesy
Fencing is often a source of neighborhood tension. Installing your fence correctly is a simple but powerful way to show respect to your neighbors.
A well-maintained fence facing them communicates that you value their enjoyment of their property as much as your own.
2. Enhances Privacy for Both Properties
When installed correctly, fences create an attractive and effective boundary. The finished side often includes features such as lattice work or taller panels that improve privacy for your neighbor, which in turn can encourage reciprocal respect.
see continuation on next page
