
ADVERTISEMENT
ticality and a modern touch to your pantry.
DIY Dollar Store Pantry Organization Bins
Materials
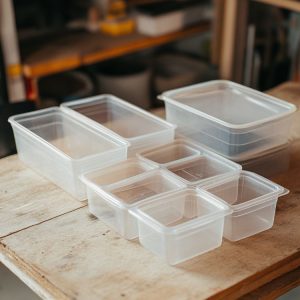
Assorted plastic bins (various sizes)
Chalkboard labels or adhesive labels
Chalk marker or permanent marker
Decorative contact paper (optional)
Scissors
Measuring tape
Chalkboard labels or adhesive labels
Chalk marker or permanent marker
Decorative contact paper (optional)
Scissors
Measuring tape
Directions
Start by emptying your pantry and sorting items into categories such as snacks, canned goods, grains, and baking supplies.
Measure your pantry shelves to determine the size and number of bins you’ll need.
Purchase assorted plastic bins from the Dollar Store, ensuring they fit your shelf dimensions.
Optionally, line the inside of each bin with decorative contact paper for added style.
Use chalkboard labels or adhesive labels to categorize each bin. Write the category name using a chalk marker or permanent marker.
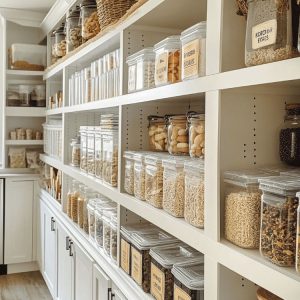
Place the labeled bins back into the pantry, grouping similar items together for easy access.
Adjust the arrangement as needed to maximize space and ensure frequently used items are easily reachable.
Variations & Tips
To customize this project further, consider using color-coded bins for different food categories, which can be especially helpful for larger families. If you have young children, opt for bins with handles for easy access. For a more rustic look, use wooden crates instead of plastic bins, and attach labels with twine. You can also add small hooks or clips inside the pantry door for additional storage of small items like spice packets or measuring spoons. Remember, the key is to adapt the organization system to fit your specific needs and preferences.
For Complete Cooking STEPS Please Head On Over To Next Page Or Open button (>) and don’t forget to SHARE with your Facebook friends
ADVERTISEMENT
