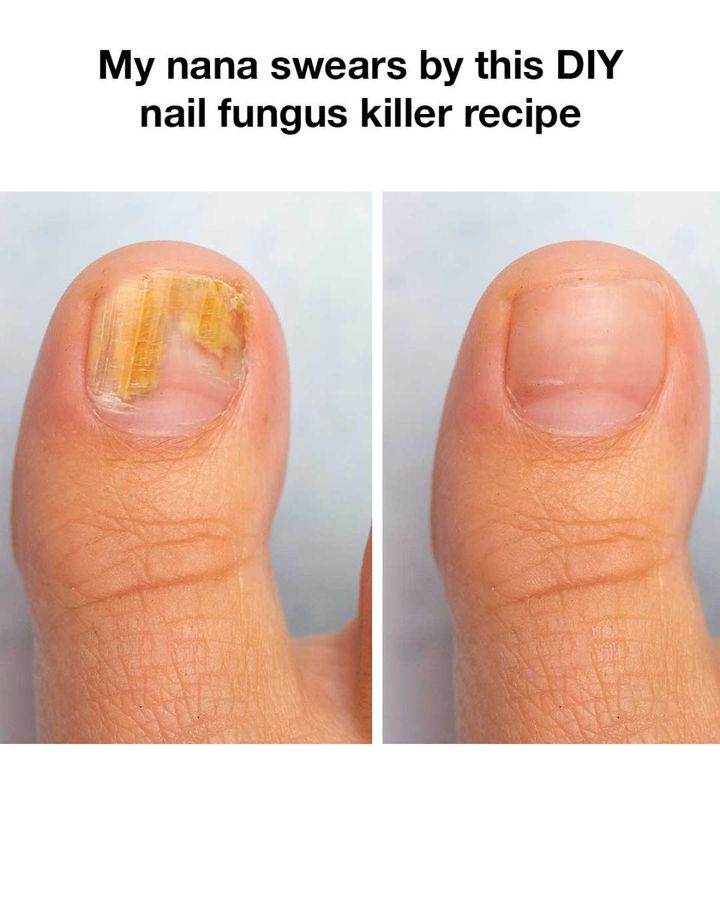
Nail fungus, or onychomycosis, is a common condition that affects many people worldwide, characterized by thickened, discolored, and brittle nails. Over-the-counter and prescription treatments are available, but they can be expensive and have unwanted side effects. Many people, including my nana, have turned to natural remedies for a safer and cost-effective solution. Among these, a DIY concoction using garlic and rosemary has gained popularity for its potent antifungal properties. This article delves into the details of this tried-and-tested recipe, ensuring you can tackle nail fungus effectively at home.
The Power of Garlic: A Natural Antifungal
Garlic has been revered for centuries for its medicinal properties. One of its key active components, allicin, is known for its powerful antifungal, antibacterial, and antiviral qualities. Scientific studies have shown that garlic can combat various fungal infections effectively. When applied to the nails, garlic helps to kill the fungus and prevent its further spread, making it a cornerstone of this DIY nail fungus killer recipe.
How Rosemary Enhances the Formula
Rosemary is more than just a fragrant herb used in cooking; it possesses significant antifungal, antibacterial, and anti-inflammatory properties. The essential oils in rosemary can penetrate the nail bed and deliver these therapeutic benefits directly to the site of infection. When combined with garlic, rosemary enhances the antifungal action, speeds up the healing process, and provides a soothing effect to the affected area.
Step-by-Step Guide to Making the Nail Fungus Killer
1. Ingredients Needed:
– 4-5 cloves of fresh garlic
– A handful of fresh rosemary or 1 tablespoon of dried rosemary
– 1 cup of olive oil or coconut oil
2. Preparation Steps:
– Peel and crush the garlic cloves to release their juices.
– If using fresh rosemary, roughly chop it to increase surface area.
– Combine the garlic and rosemary in a small saucepan.
– Add the oil to the saucepan and heat on low for about 20 minutes, stirring occasionally.
– Remove from heat and let the mixture cool completely.
– Strain the mixture to separate the oil from the solid parts and transfer the oil into a clean, airtight container for storage.
– Your DIY nail fungus killer is now ready for use.
Application Instructions and Tips
1. Ensure your nails are clean and dry before application.
2. Using a cotton swab or clean brush, apply a generous amount of the garlic and rosemary oil to the affected nails.
3. Cover the nails with a bandage or plastic wrap to keep the oil in place and enhance absorption.
4. Leave on for at least 30 minutes; for better results, you can leave it on overnight.
5. Rinse off with warm water and gently pat your nails dry.
6. Repeat this treatment daily until noticeable improvement is seen.
7. For maintenance, use the oil 2-3 times a week to prevent recurrence.
Never thought to try this!
ADVERTISEMENT
For Complete Cooking STEPS Please Head On Over To Next Page Or Open button (>) and don’t forget to SHARE with your Facebook friends
ADVERTISEMENT
