ADVERTISEMENT
1. Harvest the Leaves:
- Select thick, juicy aloe vera leaves from the bottom of the plant, as they are the most mature and contain the most gel.
- Use a sharp knife to cut them close to the base. Be careful as the plant can have sharp thorns along the edges of the leaves.
2. Prepare the Leaves:
- Wash the leaves thoroughly under running water to remove any dirt and debris.
- Stand the leaves upright in a cup or bowl for 10-15 minutes to allow the yellow-tinted aloe latex to drain out. This latex can be irritating to the skin, so it’s important to let it drain away.
3. Extract the Gel:
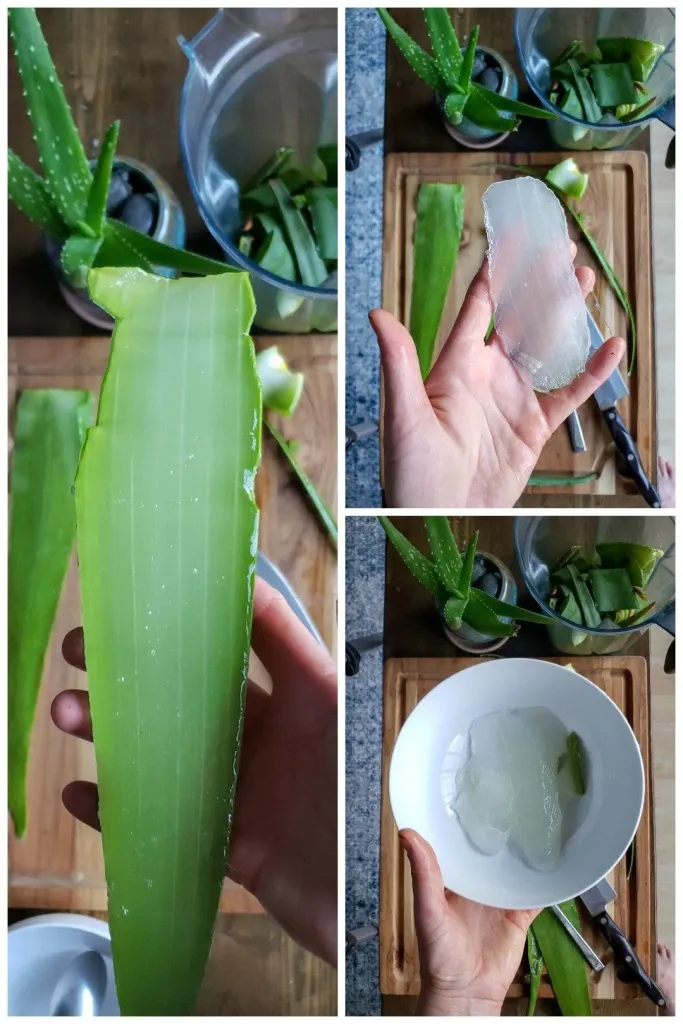
- Cut off the serrated edges of each leaf.
- Carefully slice off the skin on the flat side of the leaf to expose the clear aloe gel.
- With a spoon, gently scrape out the gel. Try to avoid any green parts as they can cause irritation.
4. Blend the Gel:
- Place the gel in a blender and pulse briefly until the gel is frothy and liquefied. Avoid overblending to maintain its natural consistency.
5. Preserve the Gel:
- If you plan to use the gel within a week, refrigeration alone is sufficient.
- For longer storage, add natural preservatives. Vitamin E oil or Vitamin C powder work well as they are antioxidants that help extend the shelf life. Mix in a few drops of Vitamin E oil or a pinch of Vitamin C powder per cup of gel.
6. Store the Gel:
- Transfer the gel into a clean, airtight container.
- Store it in the refrigerator to preserve its freshness. Properly preserved, the gel can last for several months.
