🛠️ How to Make Ginger Oil at Home (Step-by-Step)
Follow this simple guide and you’ll have a batch of fresh ginger oil in just a few hours:
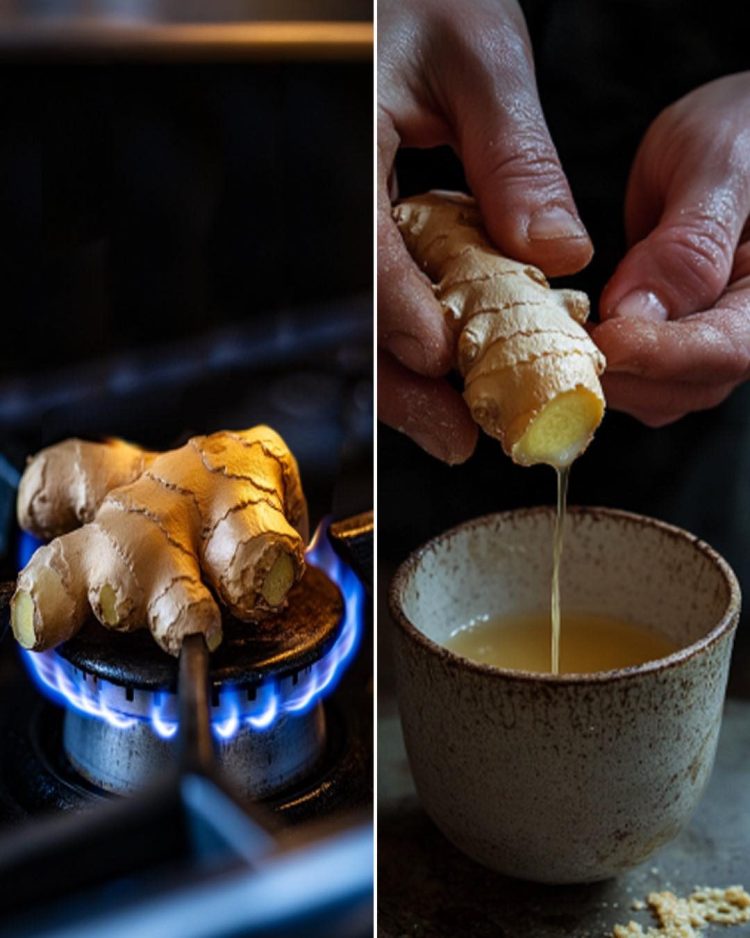
Step 1: Wash and Dry the Ginger
Rinse the ginger thoroughly, scrubbing off any dirt. Let it dry completely—moisture can cause mold during storage.
Step 2: Grate the Ginger
Use a fine grater to shred the ginger. Don’t worry about peeling it—the skin contains nutrients too!
Step 3: Infuse the Oil
Place the grated ginger in a small saucepan. Add your carrier oil.
Simmer on low heat for 1–2 hours, stirring occasionally. Don’t let it boil—slow infusion is key.
Step 4: Strain
Once the oil is infused and aromatic, remove from heat. Strain using a cheesecloth or fine mesh sieve into a clean glass jar.
Step 5: Cool and Store
Let the oil cool fully before sealing. Store in a cool, dark place—your homemade ginger oil should last up to 6 months.
🌟 How to Use Ginger Oil
Now that your oil is ready, here’s how to put it to work:
-
Massage Oil: Rub into sore muscles and joints for instant relief.
-
Hair Care: Massage into the scalp to encourage circulation and hair growth.
-
Skin Glow: Add a drop to your skincare routine for improved tone and texture.
-
Digestive Aid: Gently rub a few drops on the stomach to soothe nausea or cramps.
-
Aromatherapy: Add to a diffuser for a warm, uplifting scent.
🔍 Pro Tips for the Best Ginger Oil
-
Use Fresh Ginger: It gives the most potent results.
-
Go Cold-Pressed: Choose high-quality, cold-pressed carrier oils to preserve nutrients.
-
Keep It Cool: Store in a dark, airtight container to maintain freshness and potency.
🌱 Final Thoughts: Your Natural Wellness Essential
Ginger oil is more than a DIY project—it’s a natural tool for better health. Whether you’re easing aches, improving skin, or simply enjoying its warming aroma, this easy-to-make oil is a game-changer.
So skip the overpriced bottles at the store and make your own. Your body—and your wallet—will thank you.
